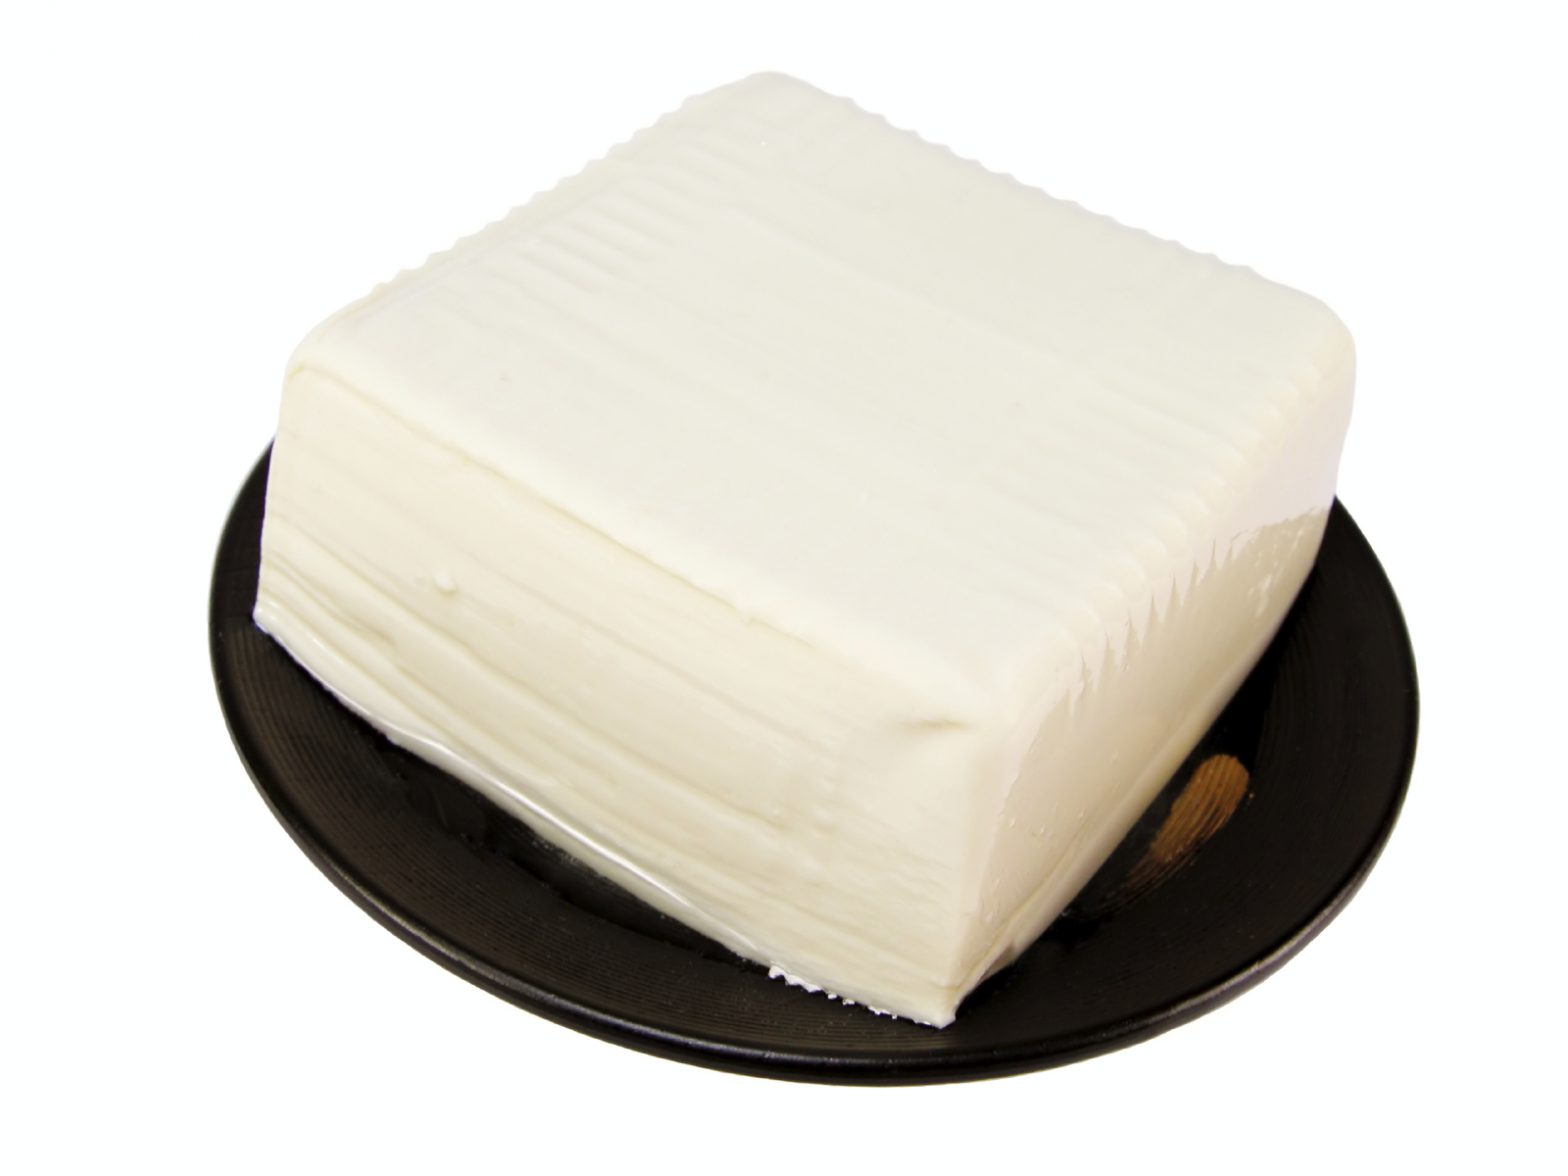
Home-made Tofu from Soya Beans
Delicious Home-made Tofu – Creamy, Nutritious and Economical
It’s actually quite easy to make tofu from soya beans, but you need to be around for certain stages! We did a bit of research and experimented for you. The result was a fresh, creamy tofu¬†which we enjoyed even more¬†than our favourite organic brands.¬†The okara – nutritious¬†left over fibre – can be used to make¬† bean burgers or even add to home-made bread and muffins and the whey (liquid left over from the soya curds) can be added to soups and sauces – nothing is wasted.
The coagulant – gypsum/calcium sulphate – can be bought from Oriental supermarkets or from brewing shops.
You can also make a quicker version from unsweetened, unfortified soya milk but it needs more coagulant¬† and doesn’t produce such a firm tofu – good for scrambles, quiches or blending¬†however.
FFI
http://www.justhungry.com/2006/03/milking_the_soy.html
The Tofu Book by John Paino & Lisa Messinger ISBN 0-89529-409-5
The Book of Tofu by William Shurtleff & Akiya Aoyagi ISBN 1580080138
Share your creations with us by using #veganrecipeclub and tagging @veganrecipeclub
Ingredients
- 4 tsp calcium sulphate (gypsum) Gypsum is a powder can be bought from home-brew shops
-  
Instructions
1. Soak soya beans for 8 hours plus (Maximum 24 hours). If the weather is warm, drain, rinse and replace with fresh water at least once. Beans ready to go are tender enough to bite through. Place 3.8L fresh water in the big pan and bring to the boil. If using two pans, just divide the water in half and do the same. The mixture will look quite smooth and foamy.
2. Meanwhile, drain half the beans and place in the food processor with just enough water to cover. Blend well – about 2-3 minutes – until the beans are very finely ground. Scrape down the sides at least once and blend again to incorporate everything into the mix. Remove from the processor, place in a bowl and repeat the process with the other half of the beans.
4. Line a large bowl or another pan with the cloth bag and slowly pour the mixture into it a bit at a time. Use a strong wooden spoon or spatula to press the mixture down, so the milk goes through the bag and the fibrous part – okara – remains. Alternatively, use very thick rubber gloves to squeeze the bag by hand. Do this in stages until all the mixture has been strained. Freeze the okara in small portions – it is highly nutritious (protein, fibre, iron) and can be blended in with soups, stews and so forth.
5. Keep the soya milk hot but don’t let it boil. It should be about 75°C. Now dissolve the nigari or gypsum in a little lukewarm water. Add it to the hot milk in stages, stirring in. As soon as curds start to separate from the liquid, stop adding it (ie don’t use it all unless necessary).
6. Cover the pan with a tight-fitting lid and leave for about 15 minutes. Now stir very gently to see the state of the curds. They should be fairly big and totally separated from the yellowish liquid. If the white particles are still very small and floating all around in the liquid, add the rest of the nigari liquid if you have some left, or make up an additional teaspoonful’s worth of powder and water. Stir in, and put the lid back on for an additional 10-15 minutes. Wet the cotton cloths and line them in the tofu moulds.
7. The curds should have sunk to the bottom. Sink in a sieve and use a ladle to scoop out most of the yellowish liquid – this helps to prevent damaging the curds. (The liquid can be used as stock – or freeze it.) In the saucepan, you will be left with mostly curd and a bit of liquid. Pour the curds gradually and carefully into your mould, letting the excess liquid drain out a bit each time you do so.
8. Cover the curds with the cloth then the lid then the weights. Press down gently to remove more liquid then place the tofu press over a raised area such as a draining rack or in a colander placed in a bowl so the liquid can drain freely. Leave for at least 15 minutes or longer to get a firm tofu. Then gently remove from the mould and place into a bowl.
9. Taste a tiny piece of tofu. If it tastes a little bitter from the coagulant, place a sieve over the top of the tofu and run cold water gently over it for about 20-30 minutes. Then drain and place in a plastic box. If eating on the same day, don’t bother adding water. If using in the next 2-3 days, cover it with water and a lid and store in the fridge until needed. If it doesn’t taste bitter, just store as above. Drain any water off and pat with a clean cloth or kitchen roll before cooking.
Optional extras / notes
-
1 hour
Did you know that the Vegan Recipe Club is run by Viva!, and that we are a charity?
We create vital resources to help educate everyone – vegan veterans, novices and the v-curious alike – about vegan food, health and nutrition; as well as the plight of farmed animals and the devastating environmental impact of farming.
Through this work we have helped thousands of people discover veganism; but we want to reach millions more! We rely entirely on donations as we don’t get any government funding. If you already support us, thank you from the bottom of our hearts, you are really making a difference! Please share our details with your friends and loved ones too, as every donation enables us to keep fighting for change.
Related recipes
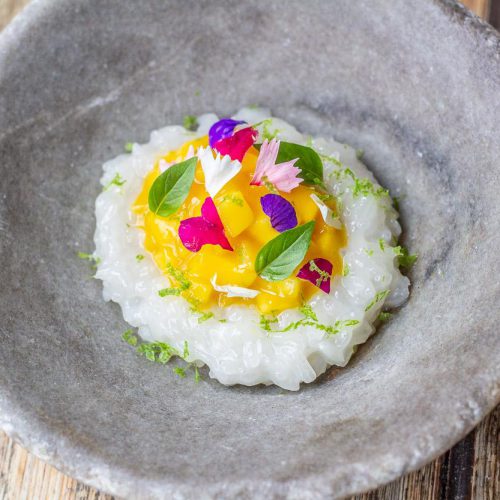
Mango Sticky Rice
This dessert is a spin on the Thai classic only with a little twist – adding lime zest changes everything! Sweet, sticky and seriously addictive, this will transport you to…

Pizza Dough, Smoked Ajo Blanco & Basil
This has become something of a signature dish of sorts. It really came about because of my personal loathing of sourdough as the accepted bread course at restaurants. I wanted…

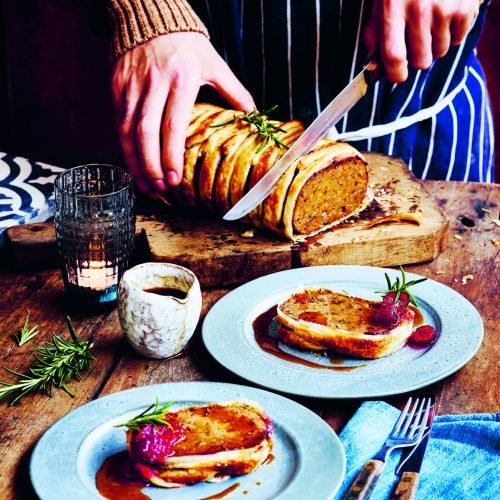
Stuffed “No Turkey” Wrapped in Gaz’s Streaky Bacon
This is technical to make but so rewarding when you slice into it. I believe this recipe is powerful enough to help reduce the amount of people having meat on…
The Ultimate Vegan ‘Beef’ Wellington
This is Christmas, all wrapped up … literally! The Christmassy flavours we all love are in this roast “beef” wellington. It’s so succulent and flavoursome.
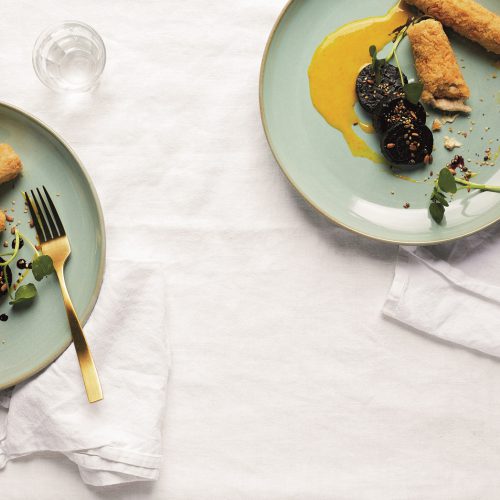
Smoked Cashew Croquetas (with port-glazed red beetroot and orange emulsion)
Croquetas are a traditional Spanish tapas made from a thick white sauce, usually with added ham, which are breaded and deep fried so the outside is crisp and the inside…
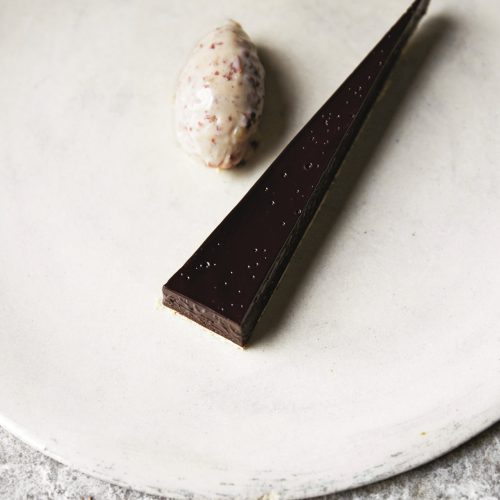
Chocolate Salted Caramel Tart (with peanut butter sorbet)
This has become something of a classic at the restaurant, it is so simple to look at, the flavours so familiar, but nothing can prepare you for the intensity and…